Netlify already works really great with GitLab, GitHub and Bitbucket. But I use a self-hosted GitLab and there was no option to connect self-hosted Gitlab. So I emailed them, this is what I got:
I don’t think we’ll ever support “Sign in via self-hosted GitLab” since that is quite complicated from our point of view for a few reasons…
Netlify Support
Needless to say, Netlify’s support is awesome! They sent me every instruction to set it up. Everything was in the
So how does Netlify’s auto deploy work?
In order to build and deploy your site automatically, Netlify needs the following:
- Access to git repository – Netlify add their SSH key to our repo so that they can read/clone our repo whenever they want (read permission is enough)
- Alert on new commits – Almost all git repo hosting services have “webhook integration”. Netlify gives a unique URL (webhook) for each project. Whenever there is a new commit or merge request we just alert that URL
I hope that makes everything clear!
Setup Auto Deployment from Self-hosted GitLab to Netlify
Step 1 – Install Netlify CLI
Install Netlify CLI using npm i -g netlify-cli and authenticate your account netlify login
Step 2 – Setup Deployment
As we discussed earlier we need SSH key and webhook URL.
Initialize Netlify in your project using netlify init --manual
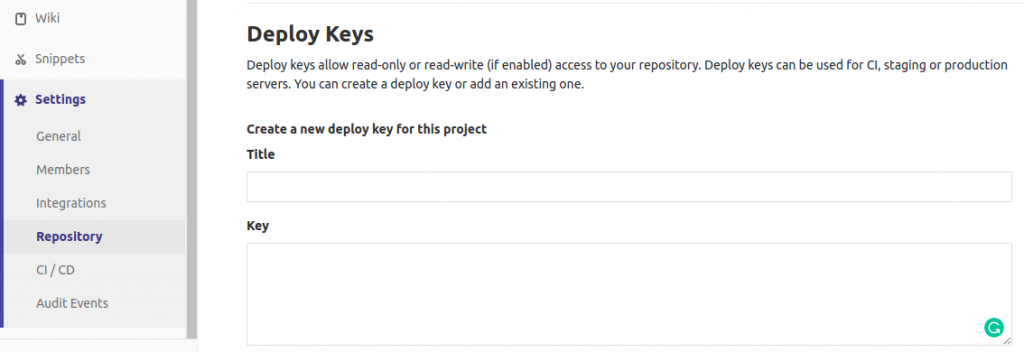
After completing necessary steps you’ll obtain an ssh key, copy that and add it to your GitLab Project -> Settings -> Repository -> Deploy Keys
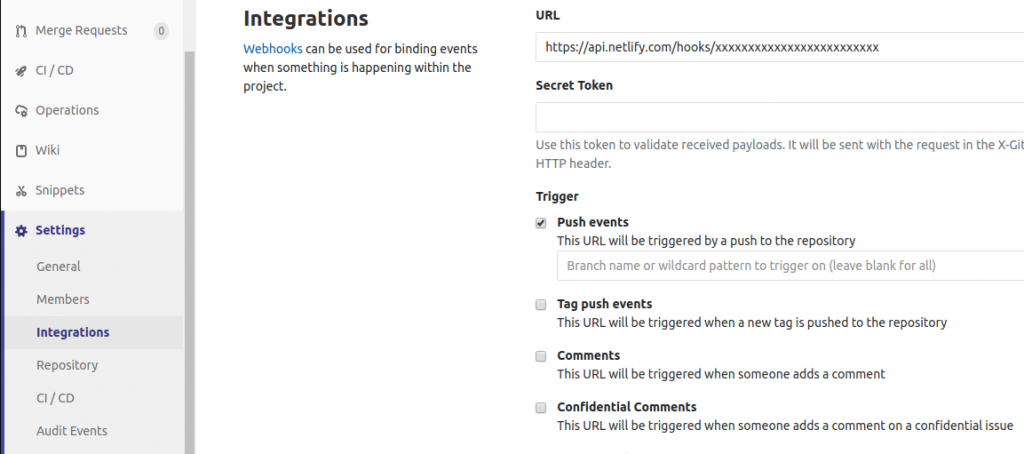
Once you’re done with this, proceed to the next step, you’ll get a webhook URL. Goto GitLab Project -> Settings -> Integrations. Paste the URL (you can ignore secret token). Make sure “Push events” are checked. Rest is optional. If you want branch previews for merge requests, check “Merge request events” and so on. Finally “Add Webhook”
You’re done! Your app should be building/live in Netlify by now. Connect your domain and enjoy!