I have a been fan of goo.gl, simple and elegant. But they recently announced that “Starting March 30, 2018, we will be turning down support for goo.gl URL shortener.”
Since then I’ve been thinking about why not to create a URL shortener myself? It’s simple right? Few lines of NodeJS code, a DB, Redis, Nginx, Server, SSL… Nope, that doesn’t sound simple! Any easy solutions? Yes!
In this guide, we’ll explore how to create a URL shortener for free. This guide doesn’t even need to know the
How to Create Your Own Private URL Shortener for Free
Your Own – Your domain, your branding, not using a service like goo.gl or bit.ly
Private – You decide which URLs to be added, what should be the “shortened URL”
Free – Yes, absolutely 100{a8d0fabefeccbf1d125e3e25c91db392f6d8308bcafe6010e3a2ab0b301c1f15} free
What you’ll need
How it Works
Netlify is a free (freemium) static hosting website which is super fast. One of their features, “redirects” helps to decide on a request, where it should be redirected. We’ll tell them if its “/abc”, redirect to “www.something.com”. Netlify just need these URLs in a file called _redrects
What is the role of GitHub here?
Our _redirects file will be held in GitHub, whenever we need to add/remove a URL we’ll edit that file. Netlify has great integrations with GitHub and GitLab. Whenever there is a change in that file, Netlify will pull that file and deploy it.
Let’s do it – The Hard Way
(scroll down for an easy method)
Step 1
Create a new repo in GitHub, and create a new _redirects
Step 2
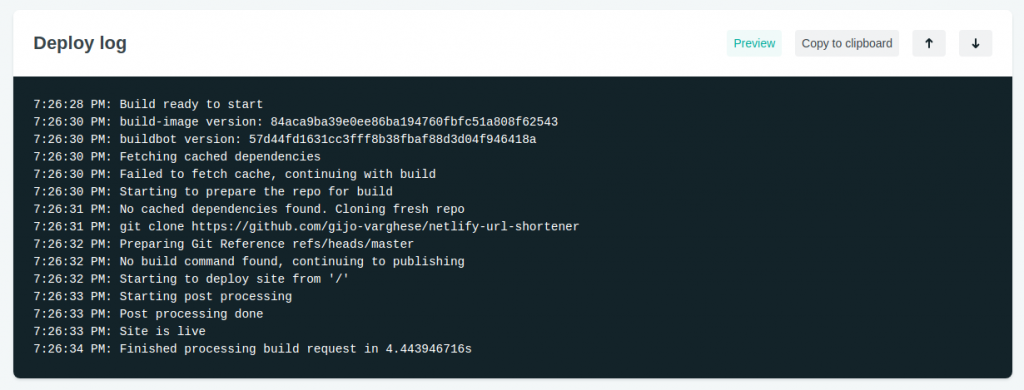
Create a new site in Netlify, select your git provider and choose the repo that you’ve created just above. Netlify will pull your repo and deploy it in a few seconds

Step 3
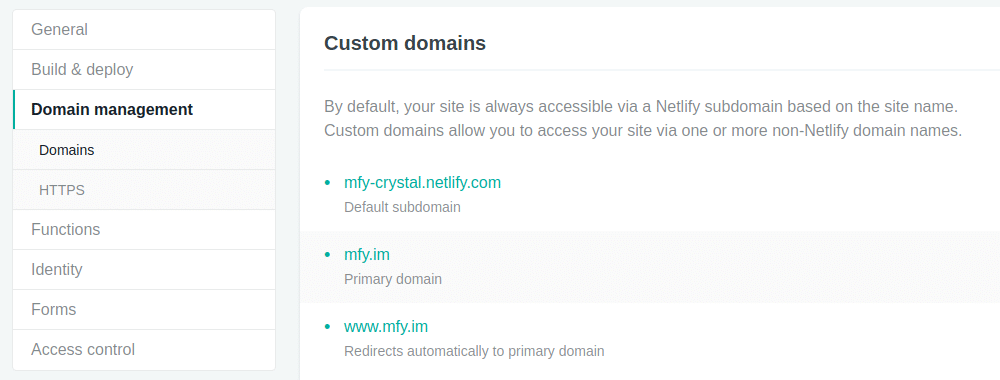
Connect your domain by going to Site Settings -> Domain Management

Let’s do it – The Easy Way
Fork my repo https://github.com/gijo-varghese/netlify-url-shortener and click on “Deploy to Netlify”
Done!
So you’ve built your own URL shortener in just 3 steps. Whenever you need to add a URL, just edit that file directly in GitHub. It will be deployed by Netlify in a few seconds!
Happy URL shortening! Bye bye goo.gl
